


Title: A Step-by-Step Guide to Installing Nzazu Hair Nano Ring Hair Extensions for a Flawless Look
Introduction: Are you looking to add length and volume to your hair without the commitment of permanent extensions? Nano ring hair extensions might be the perfect solution for you! In this step-by-step guide, we'll walk you through the process of installing nano ring hair extensions for a seamless and natural look.
Materials Needed:
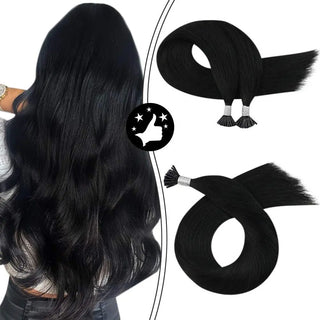
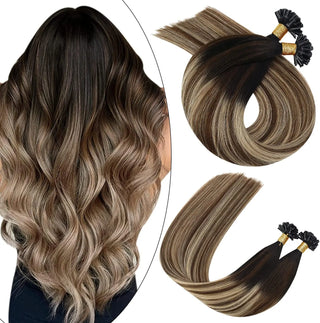
- Nano ring hair extensions
- Sectioning clips
- Tail comb
- Paddle brush
- Nano ring application tool
- Loop tool
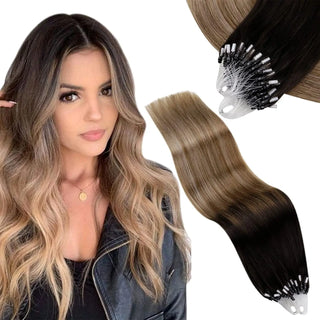
- Nano rings (silicone-lined)
- Hair extension pliers
- Mirror
You can buy these tools and Nano ring Hair Extensions here - Click on the link
https://nzazu.com/collections/hair-tools-styling
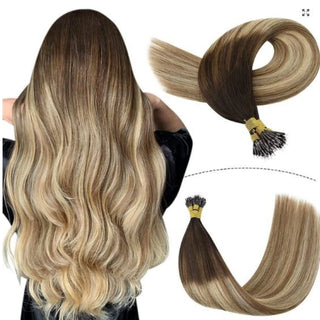
https://nzazu.com/collections/nano-ring-hair-extensions
Step 1: Prepare Your Hair Start by washing and thoroughly drying your hair. Use a paddle brush to detangle any knots and ensure your hair is smooth. Section your hair horizontally, leaving the bottom section loose and ready for extension installation.
Step 2: Section Your Hair Divide your hair into small, manageable sections using sectioning clips. This will make the application process easier and more precise. Leave a small section at the nape of your neck free to start the installation.
Step 3: Install the First Nano Ring Take a small strand of hair from the nape section and insert it through the nano ring. Place a nano ring extension near the root of your natural hair, leaving a small distance to avoid tension. Use the nano ring application tool to secure the ring in place, ensuring it is tight but not uncomfortable.
Step 4: Loop Tool Application Use a loop tool to thread the nano ring through the extension tip. This ensures a secure grip on your natural hair without causing damage. Slide the loop tool through the nano ring, hook the extension, and pull it through until it's snug against your natural hair.
Step 5: Secure the Nano Ring Once the extension is in place, use the hair extension pliers to squeeze the nano ring firmly, securing it tightly. The silicone lining inside the ring protects your natural hair and prevents slipping.
Step 6: Repeat the Process Continue the installation process section by section, working your way up towards the crown of your head. Make sure to maintain even spacing between extensions and pay attention to the natural flow of your hair for a seamless blend.
Step 7: Blend and Style After all the nano ring hair extensions are in place, use a paddle brush to blend your natural hair with the extensions. Style as desired, whether it's sleek and straight or with waves and curls.
Conclusion: Congratulations! You've successfully installed nano ring hair extensions for a stunning transformation. With the right tools and careful application, you can enjoy a long-lasting and natural-looking result. Remember to follow proper maintenance and care routines to keep your extensions in top condition for as long as possible.